This time I'd like to show you the process of painting the leather like on my Einstein. The bust at this moment is still in progress, so you can check my earlier posts to see how it's progressing so far.
As you can see leather apron Einstein is wearing is very distressed, dirty and full of all sorts of discolourations and stains. It wasn't really planned this way from the beginning, but was more like heat of the moment improvisation.
Because I don't have any photos picturing particular stages of the process I'll try to recreate the same effect on different piece (most probably the cartboard or something like that). To be fair I must admit that I'm curious myself if I can do that.
If you're interested here's my other tutorial about
painting leather
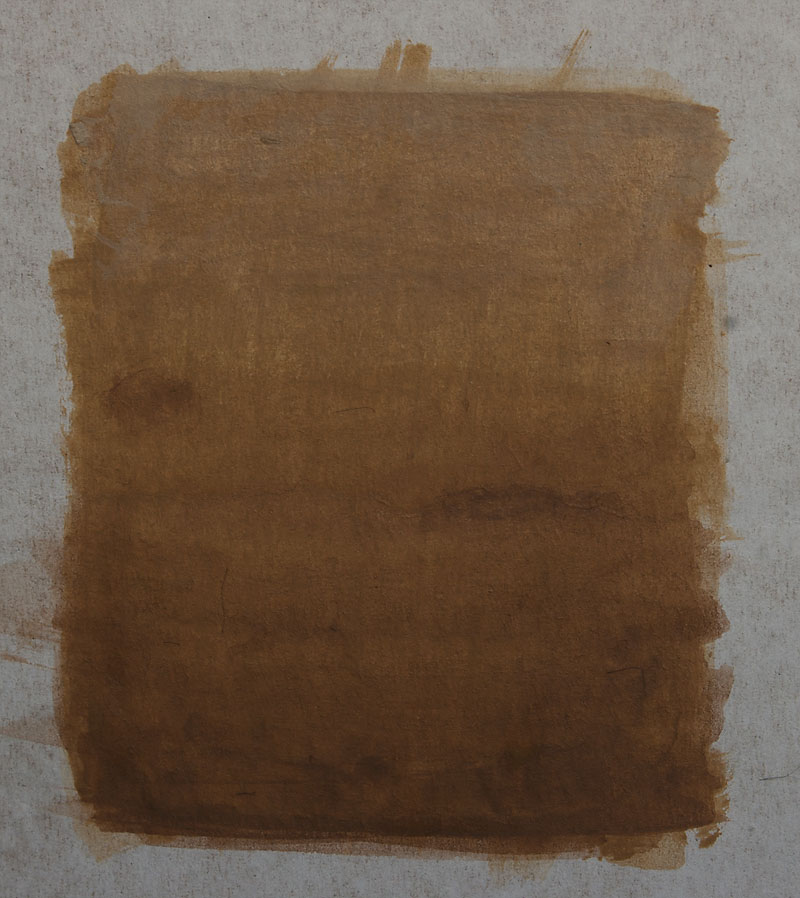
1. Basecoat
First step is pretty basic. Just apply more or less even layer of a base colour. In my case some sort of mixture of: Graveyard Earth (GW), Desert Yellow (GW) and 'Jack Bone (P3).
The exact colours are really not that important, you can use your own pants and mixtures, but I'm gonna list them just in case anyone will find it helpful.
Because I'm trying to speed up my painting as much as I can, for such big pieces, at this stage I'm mostly using airbrush to block colours and do initial shading. But you can easily do that with the brush, especially because you don't need an extra smooth surface.
2. Basic shades and lights
For this step I also used an airbrush and simply sprayed some Graveyard Earth facing nozzle from the bottom of the bust, and then added few extra glazes with brush at the very bottom and in the recesses. After that few layers of 'Jack Bone on his shoulders.
I don't think I was worried too much about the shadows on the edges at this point, as I was planning to take care of them closer to the end.
3. Introducing texture, some colour variations and more contrast
After blocking first shadows and lights, I used thin glazes of various shades of brown, green, black to create some slight colour variations and more contrast. More 'Jack Bone and Dessert Yellow was used to brighten top parts of the apron.
At this stage I wasn't really going for smooth transitions. In fact some roughness, especially in 'light' areas was deliberate, and used to create leathery texture (vachetta leather - without a shine and rather dull when compared to the grain leather)
4. Splashes
When step 3 is finished the fun begines. Using thick and rather stiff brush, a toothpick and fairly dilluted paints and washes I created colourful splashes on the apron, trying to concentrate them on the middle part of the apron, where they're most likely to happen in real life.
This metod is quite random and seems messy, but with all the 'non leathery' parts of the mini covered with Tamyia tape, and a bit of practice (to establish how dilluted part you should use) you can really go to town with it and create cool effects. And if something goes horribly wrong, you can always cover that area with base/shade colour and start over again. It not only won't ruin the piece, but can even add a bit to the texture.
It's entirely up to you what colours you use for that step, but here's the list of those I used:
- 'Jack Bone (P3)
- Badab Black (GW Wash)
- Agrax Earthshade (GW Wash)
- Ogryn Flesh (GW Wash)
- Seraphim Sepia (GW Wash)
If you're not entirely happy with your splashes and dots you can add some with the brush. At this point I used slightly dilluted washes to create 'coffee print' effect with a paint pooling to the stain's edges, but it's really up to you what dillution you're gonna use.
5. Glazes of different colours to blend splashes and the whole surface together a bit
I used some Graveyard Earth, brown and black washes to blend, and green, red and maybe even blue to add some colour niuances to the leather. After all, years of extensive use in different circumstances, had to left some marks and discolourations.
I know that the effect is not exactly the same with Einstein's apron, but I guess you got the idea how it was made so far. Changes I was doing from now on are rather hard to reproduce on the cartboard, so I'm gonna move back to the mini.
6. More contrast and weathering
After blending the whole surface a little, I reintroduced contrst with dark glazes (on the bottom of the miniature ans in the recesses, and light colours in the brighter areas. Slightly 'chalky' finish in the highlights added some texture and worn finish.
7. Edges
With the middle of apron more or less ready I took care of the edges. Bright colour applied with the side of the brush to the shapr edges of the apron and some glazes in the little holes and indentations under them made the trick.
The same goes for all little holes in the surface. I applied some
dark/black wash inside and then highlighted the bottom edge with Menoth
White Base (P3)
8. Final touches
For now the apron is finished, but with whole bust painted I may add some more contrast or maybe few more stains. At some point I was thinking about making him more like a car mechanic, so there would be added some oil stains on the apron, but I'm not sure yet.
Well I guess that's all here.
I hope you'll find this tutorial helpful. If you have any questions, please ask. I'll try to help as much as I can.
cheers
'eM