Showing posts with label tutorials. Show all posts
19 Sept 2013
Mines of Knowledge
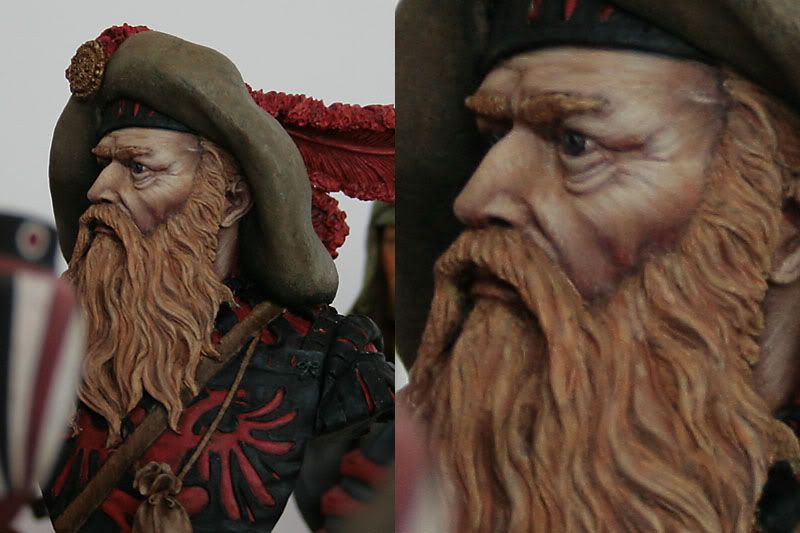
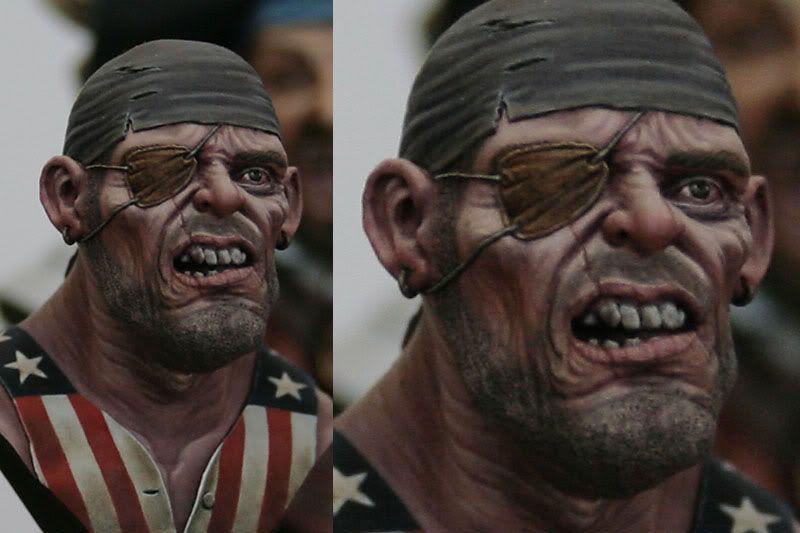
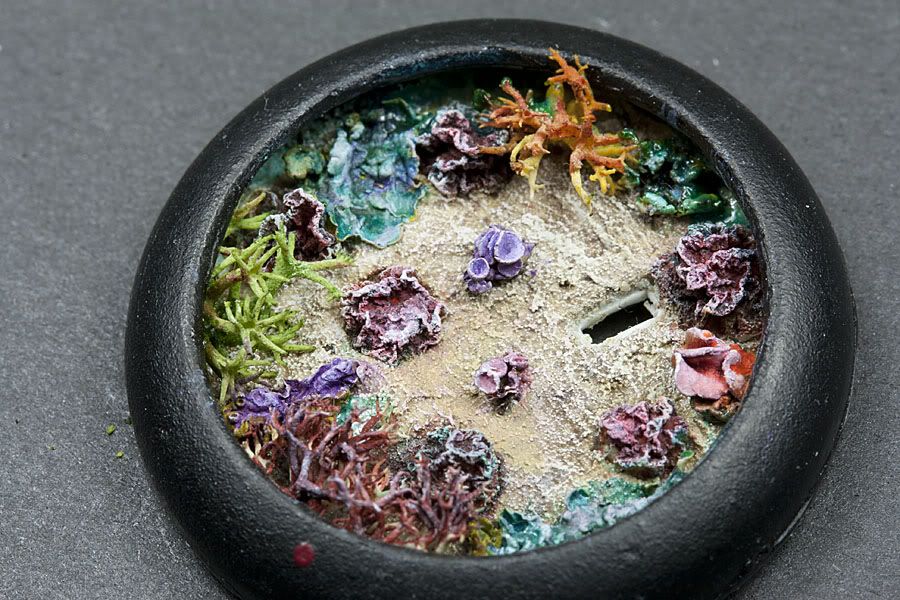
I know I rarely write about something else than my painting here. It's mostly due to the fact, that I treat this blog kinda like a diary of my 'struggle' with the matter. But I do know, and appreciate that we are not alone with our passions (even if painting is pretty solitary activity). We are actually creating really rich, nourishing, and what's most important, very friendly environment, where we can develop our skills and creativity. There is so many very gifted and generous people, who share their passion, and knowledge with the rest of the group. I'm personally extremely grateful to each and every of them. I wouldn't be who I am today, as a painter, but also as a person, if not for them.
But it is very difficult to keep track of everything that is happening in our hobby. Even with all the help of social media, we have on our disposal, it is next to impossible, to be up to date with all the new wonderful paint jobs, new releases and articles being published. At least I know, I couldn't do that.
But there is someone who can. Or rather I should say, they are...
People running those two blogs, are my heroes, when it comes to the 'sharing spirit' of our community. Not only do they paint, but they also find time, and good will, to prepare for the rest of us every week, a very condensed capsule of news from our not so little hobby world.
Of course it is impossible to include everything (or for that matter, even know about everything that's happening in our hobby) but the news are really versatile, and everyone can find something interesting there. And of course, they are run by completely different people, and the choice of news in both is different. So it's worth to check out both of them, to get better coverage.
1. War in miniature
This blog is bilingual, written in Polish and English. So no one will have any trouble finding interesting news from their corner of the hobby. (edit:) News are published every second Sunday.
2. Quidamcorvus blog
Even though this blog is only in Polish, there is no reason to skip it, if you don't speak the language. Just ask the Google Translator what the every subtitle means and simply check out the links to galleries, tutorials, or new releases. I bet you won't be disappointed.
Once again, news are published once a week, Sunday or Monday.
And if you'll visit their blogs, and find there something interesting (as I'm sure you will), say hello to the boys/leave a feedback, so they know their hard work is appreciated.
cheers
'eM
Labels:
capsules of knowledge,
inspiration,
Mines of Knowledge,
Quidamcorvus blog,
references,
tutorials,
War in miniature
28 Jun 2013
Einstein's apron - leathers SBS
This article about painting Ein Stein's apron has been moved to Minichix Studio.
You can find updated version following this link.
Labels:
Einstein,
Figone,
leather,
painting,
step by step,
tutorials,
wip,
worn out effect
15 Mar 2013
6th Cofc Miniature Exchange mini published
Here is the miniature I painted for 6th Cofc ME. My recipient Hellspawn, just received my package so I can post it here:
cheers
'eM
cheers
'eM
Labels:
6th CofC ME,
bases,
etched brass,
gallery,
Games Workshop,
texture,
turquoise,
tutorials,
Wraith
27 Oct 2012
Talrashi - base WIP
Still not really in shape to paint, but at least I did some work on Talrashi's base.
I hope it will be fairy tale-ish enough when I'll finish with it;]
Not much to say here at this point, almost everything is glued in place, only few plants need to be added on the top, some touch-ups to fix some errors;]
I was going to prepare step-by-step tutorial about this base, but I'm missing few steps already, so I guess, it's gonna be normal tutorial;p
cheers
'eM
19 Aug 2012
First blood - step by step
This post has moved.
Read the updated article on Minichix Studio:
Adding Blood Effect in Miniature Painting the Easy Way.
Read the updated article on Minichix Studio:
Adding Blood Effect in Miniature Painting the Easy Way.
Labels:
Andrea,
blood,
Games Workshop,
Menhom Dark Sadow,
painting,
paints,
step by step,
Tamiya,
techniques,
tutorials,
Vallejo,
Vallejo Model Color
29 Mar 2012
Little bones for basing
At the moment I'm preparing another base with natural bones, so I thought I might as well tell you how to deal with them in our hobby.
But first few informations:
1. No animals were killed to obtain these bones, well they were killed and eaten, but not by me and not for the purpose of collecting base accessories. Pure cruel nature.
2. Some people may feel disgusted by the process of acquisition of the bones... I must say I don't understand that, but... well... If you feel you might have weak stomach or feel sick for trivial reasons, don't read this article, find another way to make your bases look awesome:D
Where to fing such a tiny bones (the gross part begins:P):
As you probably know, owls have very weak stomach acid, and are unable to digest bones and fur (and they swallow their prey whole or in small pieces) , so they vomit it after a while. Ornithologists call that vomit pellet.
There are other animals that do that (for example cats, hawks, eagles and other raptors), but the owl's, in particullar Barn owl's, pellets have the bones in the best condition (weakest stomach acid).
The important thing here to remember is: it's vomit not a poop, it comes out the front end not the rear!!
You can buy natural pellets on ebay, sometimes with bone charts, as children are using them sometimes at school at biology classes to reconstruct bone structure of little mammals.
There are also artificial pellets avaliable, but I have no idea how the bones look like in them.
What can we find in a pellet:As I said earlier pellets are masses of bone, teeth, hair, feathers and exoskeletons of various animals.
Here are types of the bones you can find there.
Of course it vary in every pellet. This is 100% natural thing and all depends what the owl eaten that day.
But normally you can find: Skulls, jaws, parts of the spine, ribs, tibias, and other long bones.
That's the picture of the bones I got from my 6 pellets. It will probably be enough bones for my entire hobby life.
How to dissect a pellet:
1.Use latex gloves, and a dust mask. Ideally, you should have obtained your pellets from a reputable dealer, who will ensure that these pellets can't transmit rodent-borne disease (there is a note on ebay auctions if the pellet was sterilised).
2. Begin to pull apart your pellets with your hands, slowly and carefully. This tiny pellet is filled with small, fragile bones that you'll want to preserve. If the pellet proves to be too hard, you may soak the pellet in water to soften it. That creates a muddy mixture of bones, fur and other things. I personally prefer to deal with the dry pellets than wet, but it's entirelly up to you.
3.Separate the mess of fur, feathers, and bones with tweezers. As you break the pellet into smaller and smaller pieces, you can soak your pellets in water to remove the fur and feathers from the bones. Place the bones gently to one side, in a clean container or on paper towels.
4. Clean the bones thoroughly and just to be sure put into a cleaning/disinfectant liquid for a day or two.
5. Dry the bones and store them in a container, making sure they are out of reach of children and pets, you know... just in case.
At the picture below you can see the bones in comparison with 28mm miniature (Hasslefree Akanke).
They would look great as a monster's bones in this scale, and skulls can be used for example as a dragon's remains. With bigger miniatures we can use them (the bones) as parts of human's skeletons.
How to glue and paint the bones:
If I remember correctly I was using PVA glue, but I believe they should survive contact with super glue without problems. In fact I just tested it on a very thin bone, and there are no signs of dissolving.
Paint them as anything else on your base, use primer at the beginning and then paint normally. You can stop licking your brushes for a while when painting bones, it's an animal's remains after all, even if sterilised.
Just be careful when picking them up with your tweezer, they're fragile and can be crushed easily.And of course wash your hands after touching them, just in case.
And at the end, here are examples, where I used the bones on my bases:
Next base with bones soon, maybe even tomorrow:D
cheers
'eM
Labels:
bases,
bones,
Hasslefree,
Smart Max,
step by step,
techniques,
tutorials
10 Feb 2012
Let's splash some water:)
I managed to finish yet another mini!!
Well... almost finish...
I forgot about water splashes around his foot. He's running after all, and even if the water is very shallow, it shouldn't be so still.
I decided to use method presented by Scalerama in one of their online tutorials (you can find it here and here, or here, if you're interested) to create some 'fuss' in the water.
The method itself is quite simple. You just use clear plastic as a shape for a wave and build weter effect on it to create splash of water, or very dynamic and high wave. Of course building a nice thick and varied splash will take few layers of water effect, some work and patience (in case of such a small mini it can be also a bit tricky) but I think it's worth it.
And what do you think?
'eM
29 Sept 2011
Base step by step
Part 1 - building.
Let's try something new.
Step by step tutorial about creating a base for my little barbarian from Red Box Game.
It's a beautiful mini with a lot of character, and well... strong barbarian vibe. But she has no luck for bases so far. I believe this one is third, and hopefully last one.
The final idea for a base is wild, kinda nordic terrain with 'cliff like' rocks, some roots hanging underneath, and rachitic trees. Maybe a bit of snow here and there? Who knows?
I know that Yrsa 'the Accursed' is almost naked, but she's a fantasy barbarian after all. Being able to endure low temperatures without proper clothing is part of her trade.
On the first pic you can see materials I'm planning to use. It may change a bit, because at the moment I have no idea how exactly the base will look in the end.
I know there is no 'snow' on the picture, but I’m not even sure if I’m gonna use it. And if yes, how I’m gonna do that. Using baking soda or one of the ready made artificial snow.
But what you can see is (without too much explanation, because I’m planning to do proper article about various and weird stuff I use for my bases):
- Milliput,
- bark,
- dry pieces of tree’s core,
- tree roots,
- grass roots,
- Vallejo Sandy paste and White pumice,
- gravel,
- ground sponge,
- dry moss,
- plinth I bought here: MDP products.
OK, time to start. First the main rock, nice and pointed at the end.
It makes Yrsa looks like she’s standing on a cliff, looking far far above the forest, watching over her domain.
But the single rock looks kinda lonely, and the whole base is too empty. So I added another one, slightly under the first rock.
Then some filling with milliput, some ground, few stones and the core of the base is done.
I know it looks empty at the moment, but bare with me, I have a plan.
Time for some vegetation. First few rachitic branches growing in the little pocket in the rock (it was a small hole in the bark there, so I just made it a bit deeper to place a plant here.)
And now ‘The Hazel of the Darkness’, a tree growing almost in the naked rock. That’s the reason for it being so thin and crooked.
And that’s more or less all. Later on I”ll add soil (sandy paste and white pumice), grass (Mini natur) and lichen (ground sponge).
Next part - painting:) If I won't forget to take pictures of every step.
cheers
m
Labels:
painting,
sculpting,
step by step,
tutorials,
wip
27 Sept 2011
Tips and Tricks part 1
1. Priming.
Till now I was using light gray Mr. Hobby spray (Mr. Surfacer 1200) all over the mini and then white from the top to simulate zenital lightning. Thanks to that I had a general idea how I should place lights on my mini. Well that is nothing new and almost everyone is using this technique. But recently someone pointed out that I can use black (or dark gray) colour from the bottom, to simulate, and place deepest shadows. Thanks to that you have full range of 'light' on your mini, from white to black. Quite easy trick, that should help you a lot with placing highlights and shadows in the right places, and with achieving better contrast. I tried this method on my Ghoul bust and even if that's not the right kind of mini to do that (basically because it's widest at the bottom and it was hard to work precisely with aerograph), I can see use of this method in my work flow. Especially now, when I'm trying to do all my lights and shadows in black and white, adding colours at the end.
As you can see I was pretty delicate with the dark gray paint, but even now some shades are visible (especially on his cheeks and collarbones).
Colours I used so far:
Base: Mr. Surfacer 1200 (thin layer over a light green resin, so you can still see delicate greenish tint)
Lights: Morrow White - P3
Shadows: Adeptus Battlegrey - Citadel Foundation
2. Acrylic paints
I have no idea why I never thought of painting minis with acrylic paint used by 'mainstream' painters. Probably I just assumed, that they' re not good for miniature painting. But as it turned out, I was wrong. Folks from Knight Models use them and achieve astonishing results. Here you can see few of their works:
(c) Knight Models
As far I understand those paints have few advantages over acrylics dedicated for miniatures:
- stronger pigment,
- allow to achieve better contrast,
- mat finish
Well in that case I need to give them a try;] I even have one particular set from W&N in my mind:) I'm just not sure how about their durability, but anyway, I paint only display minis, so it shouldn't be a problem for me.
3. Faces.
Here are some pictures I took in the competition room. As you can see they're historical pieces, mostly busts. But who said that fantasy painters can't learn from our 'older' friends?
Check out the contrast, the richness of midtones, all the different colours painters used to paint the face... We should definitelly try to achieve similar results. Of course it's impossible to get exactly the same results with 28mm minis, but the general idea is the same: contrast, contrast and contrast once more, with a lot of different colours in between. And when it comes to the larger scale... there is even more room to experiment.
cheers
m
10 Sept 2011
Candles
This guide on making candles has been moved to Minichix Studio.
Read the full, updated version here:
How to Make Miniature Candles for Your Figures.
Read the full, updated version here:
How to Make Miniature Candles for Your Figures.
8 Sept 2011
Coral reef
But you can use the same method and materials to create proper reef with deep water.
But first few reference pictures:
As you can see reef is full of vibrant colours and various shapes.
To recreate this I used:
1. Caribou moss (wiki)
Some of you might think that it's the last thing you would use on your base (and in any other case I'd probably agree) but in this case it defends itself pretty good.
2. Xanthoria parietina - leafy type of lichen (wiki)
My favourite thingy I use for basing. You can find it growing on the roofs, bricks and trees. You can use both, middle and edges to create different effects.
3. Drop of superglue. To create this kind of shape, you'll need deep bowl filled with water and superglue. Just drip a glue into the water and wait a while for the glue to cure. You need deep bowl and a lot of water to prevent drops of glue from reaching the bottom and sticking to it;]
Smaller drops will stay on the surface, creating flat shapes you can use as a shelf coral, bigger will drown, creating round-ish shapes of brain coral.
And when it comes to painting all those weird things, it's an easy and quite pleasant process. Paints stick to the surface of lichen without any problems. Well they soaks slightly in the caribou moss, but it's not a problem anyway.
Just remember to use more contrast than normal if you're planning to cover it with a thick layer of water.
And I think that's all
Ways, how you can use those materials, types of reef you can create, are limited only by your imagination.
cheers
m
Subscribe to:
Comments (Atom)


