The mini
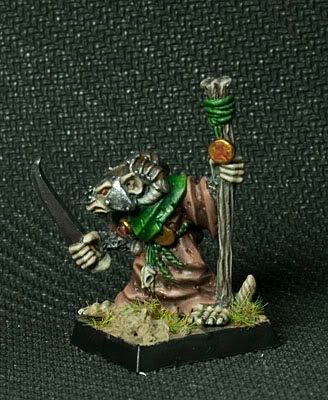
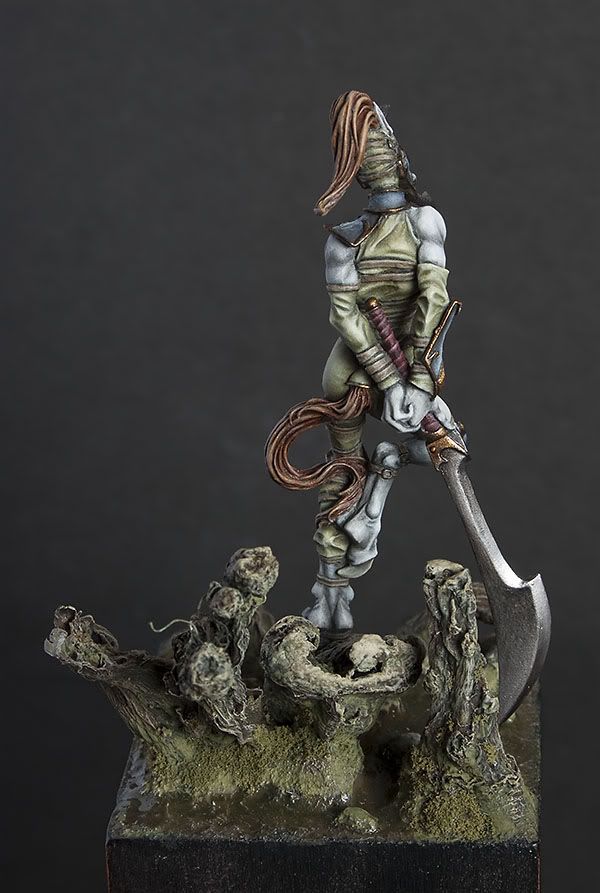
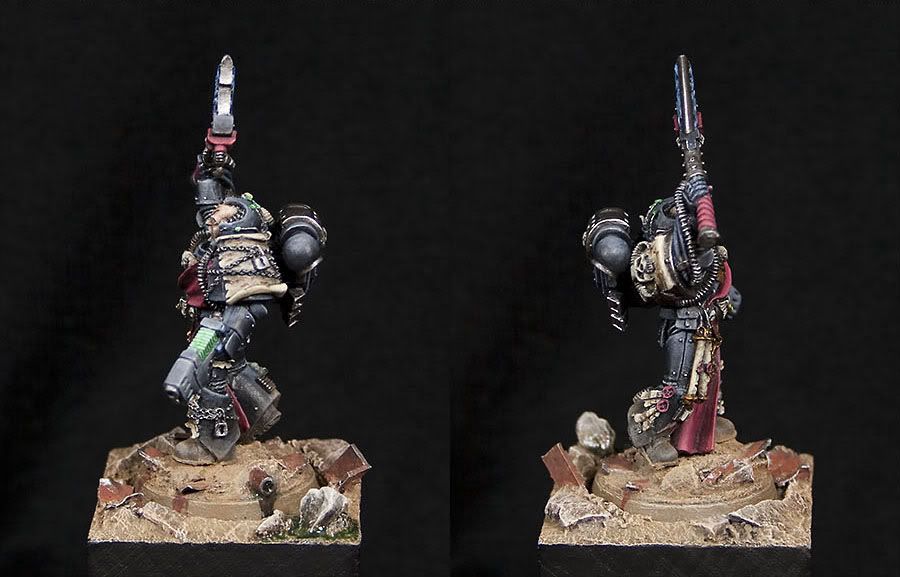
I painted this miniature for 6th CofC Miniature Exchange. The reason behind this choice was lots of space for textures and freehands. Recently I paint mostly bigger scale, and ME mini has to be 28mm, so this wraith is win/win for me. Within the range of scale and enough of nice surfaces for some experiments.
By the time this SBS is published, the mini is with the recipient, but now I can only hope, he'll like it.
Preparation:
As you can see I skipped preparation of the mini. I was so eager to start working on this piece, that I forgot to take pictures. But the process of preparing this wraith for painting is pretty straightforward.
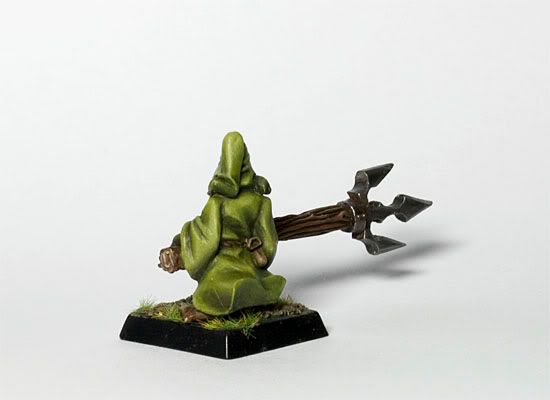
The mini consist of 5 plastic parts:
- 3 parts of cloak,
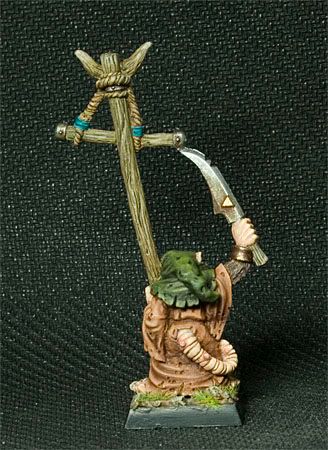
- hands and scythe,
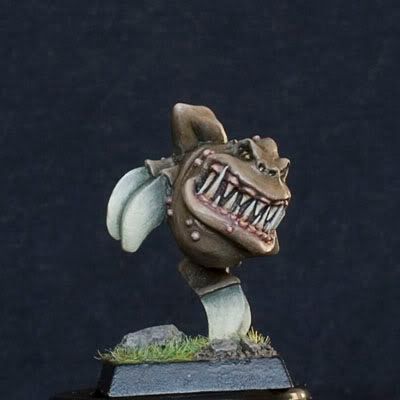
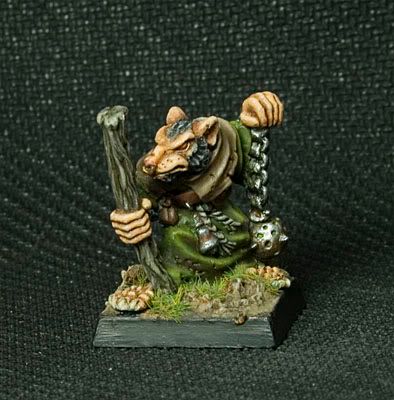
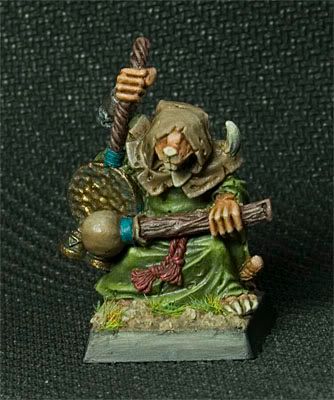
- head (3 options available).
The parts fit together nicely, and the cast itself is clean, with good details. The assembly was easy and only small amount of putty was necessary to get rid of the junction.
The base

I decided to go for one of Scibor's bases from egyptian base kit.
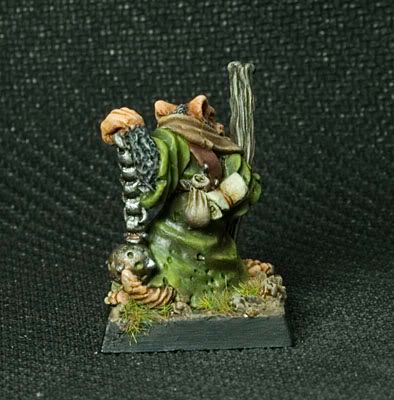
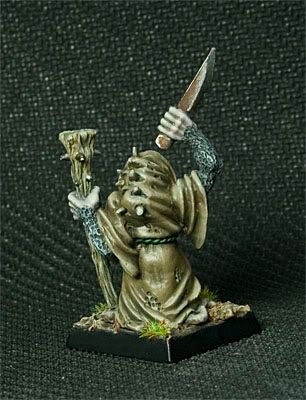
I had an idea that the wraith is rising from the remains of a tombstone or something like that. To emphasise this effect I was thinking about somehow mixing the colours of the wraith and the stone on the places where they join. Or maybe simulate the 'sucking' of some sort undead energy from the stone to the wraith by painting thin, glowing 'veins' (in the wraith's colour) on the stone, gathering at the joining points.
But eventually I ran out of time to do that, so the message isn't that clear.
Preparation:
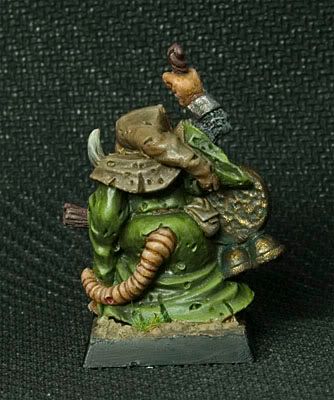
The Scibor's base was a little too big for the regular Warhammer base, and for what I was going to do with it, so I decided to modify it 'slightly'. On the photo below there is a base before and after modification. As you can see, I cut big chunks of resin, getting rid of most of the 'earth' and sand. I letf the insect on the cheek. I know it supposed to be a scarab, but it can also be a common forest beetle. I also separated the 'shield' a bit from the face, because after removing some of the earth from this side, it looked somehow odd.


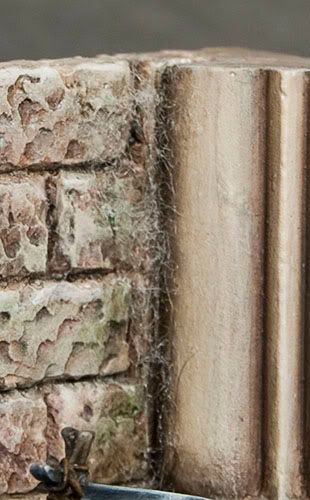
After reducing the size of the base quite significantly, I made sure that there is a place underneath for the little rock wraith is attached to. I decided to glue it on the side, with both long ends of the robe touching the statue, to make it look like he's rising from the stone. I had to cut the outer side of the rock, and mask it with some sandy paste.

To make sure that both, base and wraith, are securely attached to the black base I pinned them together.

And now just a bit of putty, sandy paste and few small rocks, and the ground is ready.
To emphasise the effect of life being sucked out of the terrain by creation of the wraith I decided to add few fern leaves half dry and dead. I know, a lot of Scibor's bases have sculpted ferns on it, and my idea isn't that original, but using etched brass fern should give me a bit more natural look than sculpted leaves.

Because etched brass is rather delicate, I thought it would be better to keep it and separately from the base and glue onto it when all painting is done. That's also the reason that all the moss was glued at the very end.
So at the moment the whole mini is ready for primer.
But more on that in the next episode:)
cheers
'e M